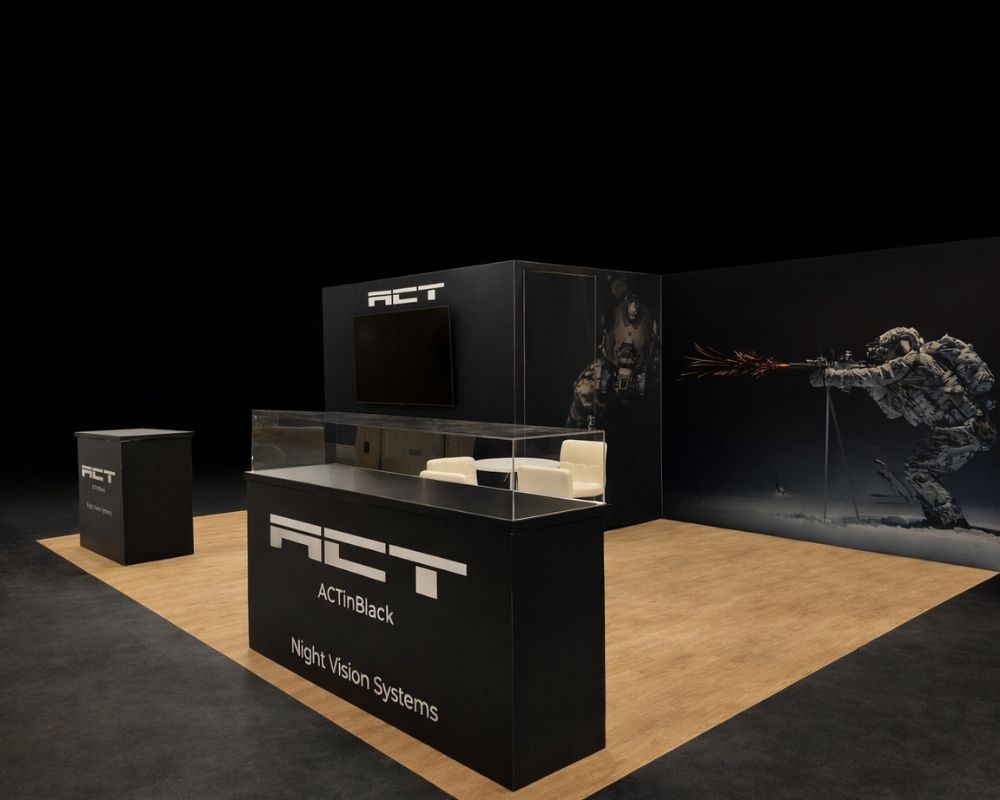
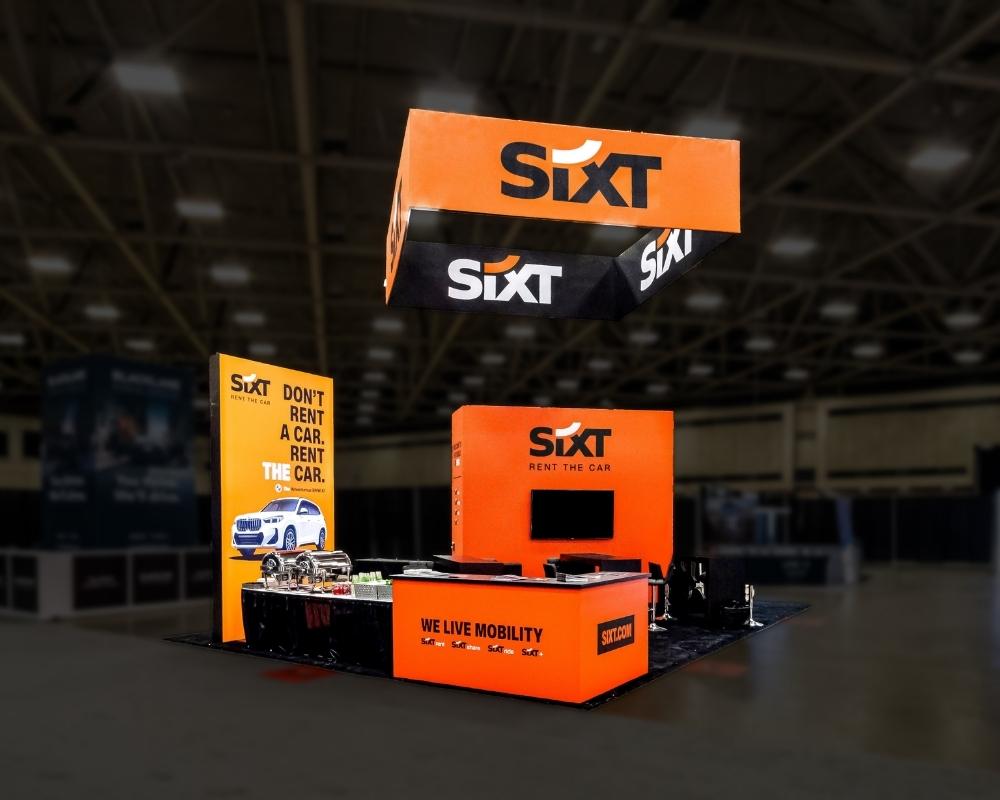
You approve a rendering. Ten weeks later, a truck arrives at a convention center, and something real comes out of it. Everything between those two moments is fabrication.
It is also where most of the difference between a sharp booth and a mediocre one gets decided. Tight seams or visible gaps, clean lighting integration or exposed cable, a structure that reassembles cleanly for six shows or one that starts looking tired after two.
This guide covers:
- What fabrication actually includes
- The seven stages, in order
- Materials and their trade-offs
- CNC, 3D printing, and prototyping
- Timelines and what causes delays
We fabricate exhibits at Local Exhibits, so the process below is the one we run rather than a textbook version.
Exhibit Fabrication, Defined
Exhibit fabrication is the physical construction of a trade show booth from an approved design. It covers building the structure, producing graphics, integrating lighting and technology, testing the assembly, and preparing everything for shipping.
Fabrication Is Not Installation
The two get confused constantly.
| Stage | Where It Happens | What It Covers |
|---|---|---|
| Fabrication | The shop | Engineering, building, graphics, prebuild, crating |
| Installation | The venue | Unloading, assembly, final connections, dismantle |
Strong fabrication is what makes installation fast and predictable. A booth that was properly prebuilt goes up in hours. One that was rushed produces a crew standing around a crate at 6 a.m. trying to work out why a panel does not fit.
The Seven Stages of Fabrication
The sequence rarely changes, whatever the size of the build.
1. Design and Engineering
An approved rendering is not buildable. Engineers convert it into shop drawings with exact dimensions, materials, connections, openings, and installation details.
This stage also locks the bill of materials and produces CNC files. Product sizes, monitor models, utility requirements, graphic dimensions, storage, and service access all get confirmed before anything gets cut.
2. Materials Selection and Sourcing
Wood, aluminum extrusion, acrylic, laminate, fabric, steel for hanging structures, hardware, and lighting components are specified and ordered.
Specialty finishes and unique hardware carry longer lead times than standard stock, which is why sourcing starts the moment drawings are approved.
3. Structure Build
The frame, walls, counters, towers, and large components get built. Depending on the design this involves millwork, metal fabrication and welding, aluminum framing, CNC routing, and laminate application.
4. Graphics Production
Large-format graphics are printed, laminated, and either mounted to rigid substrate or tensioned onto SEG frames. Color matching against brand standards happens here, and it is the stage where a rushed decision shows up most visibly on the show floor.
5. Finish Work
Painting, lamination, acrylic details, hardware fitting, lighting installation, and AV mounting. This is the layer that separates a build that reads as premium from one that reads as assembled.
6. Test Assembly
The entire exhibit is built in the shop before it ships. More on why this matters below.
7. Crating and Packing
Components are labeled, packed into custom crates engineered for repeated assembly, and prepared for freight. Good crating reduces damage and speeds installation, and it is designed to minimize weight because every pound gets billed twice through drayage.
Materials and Their Trade-Offs
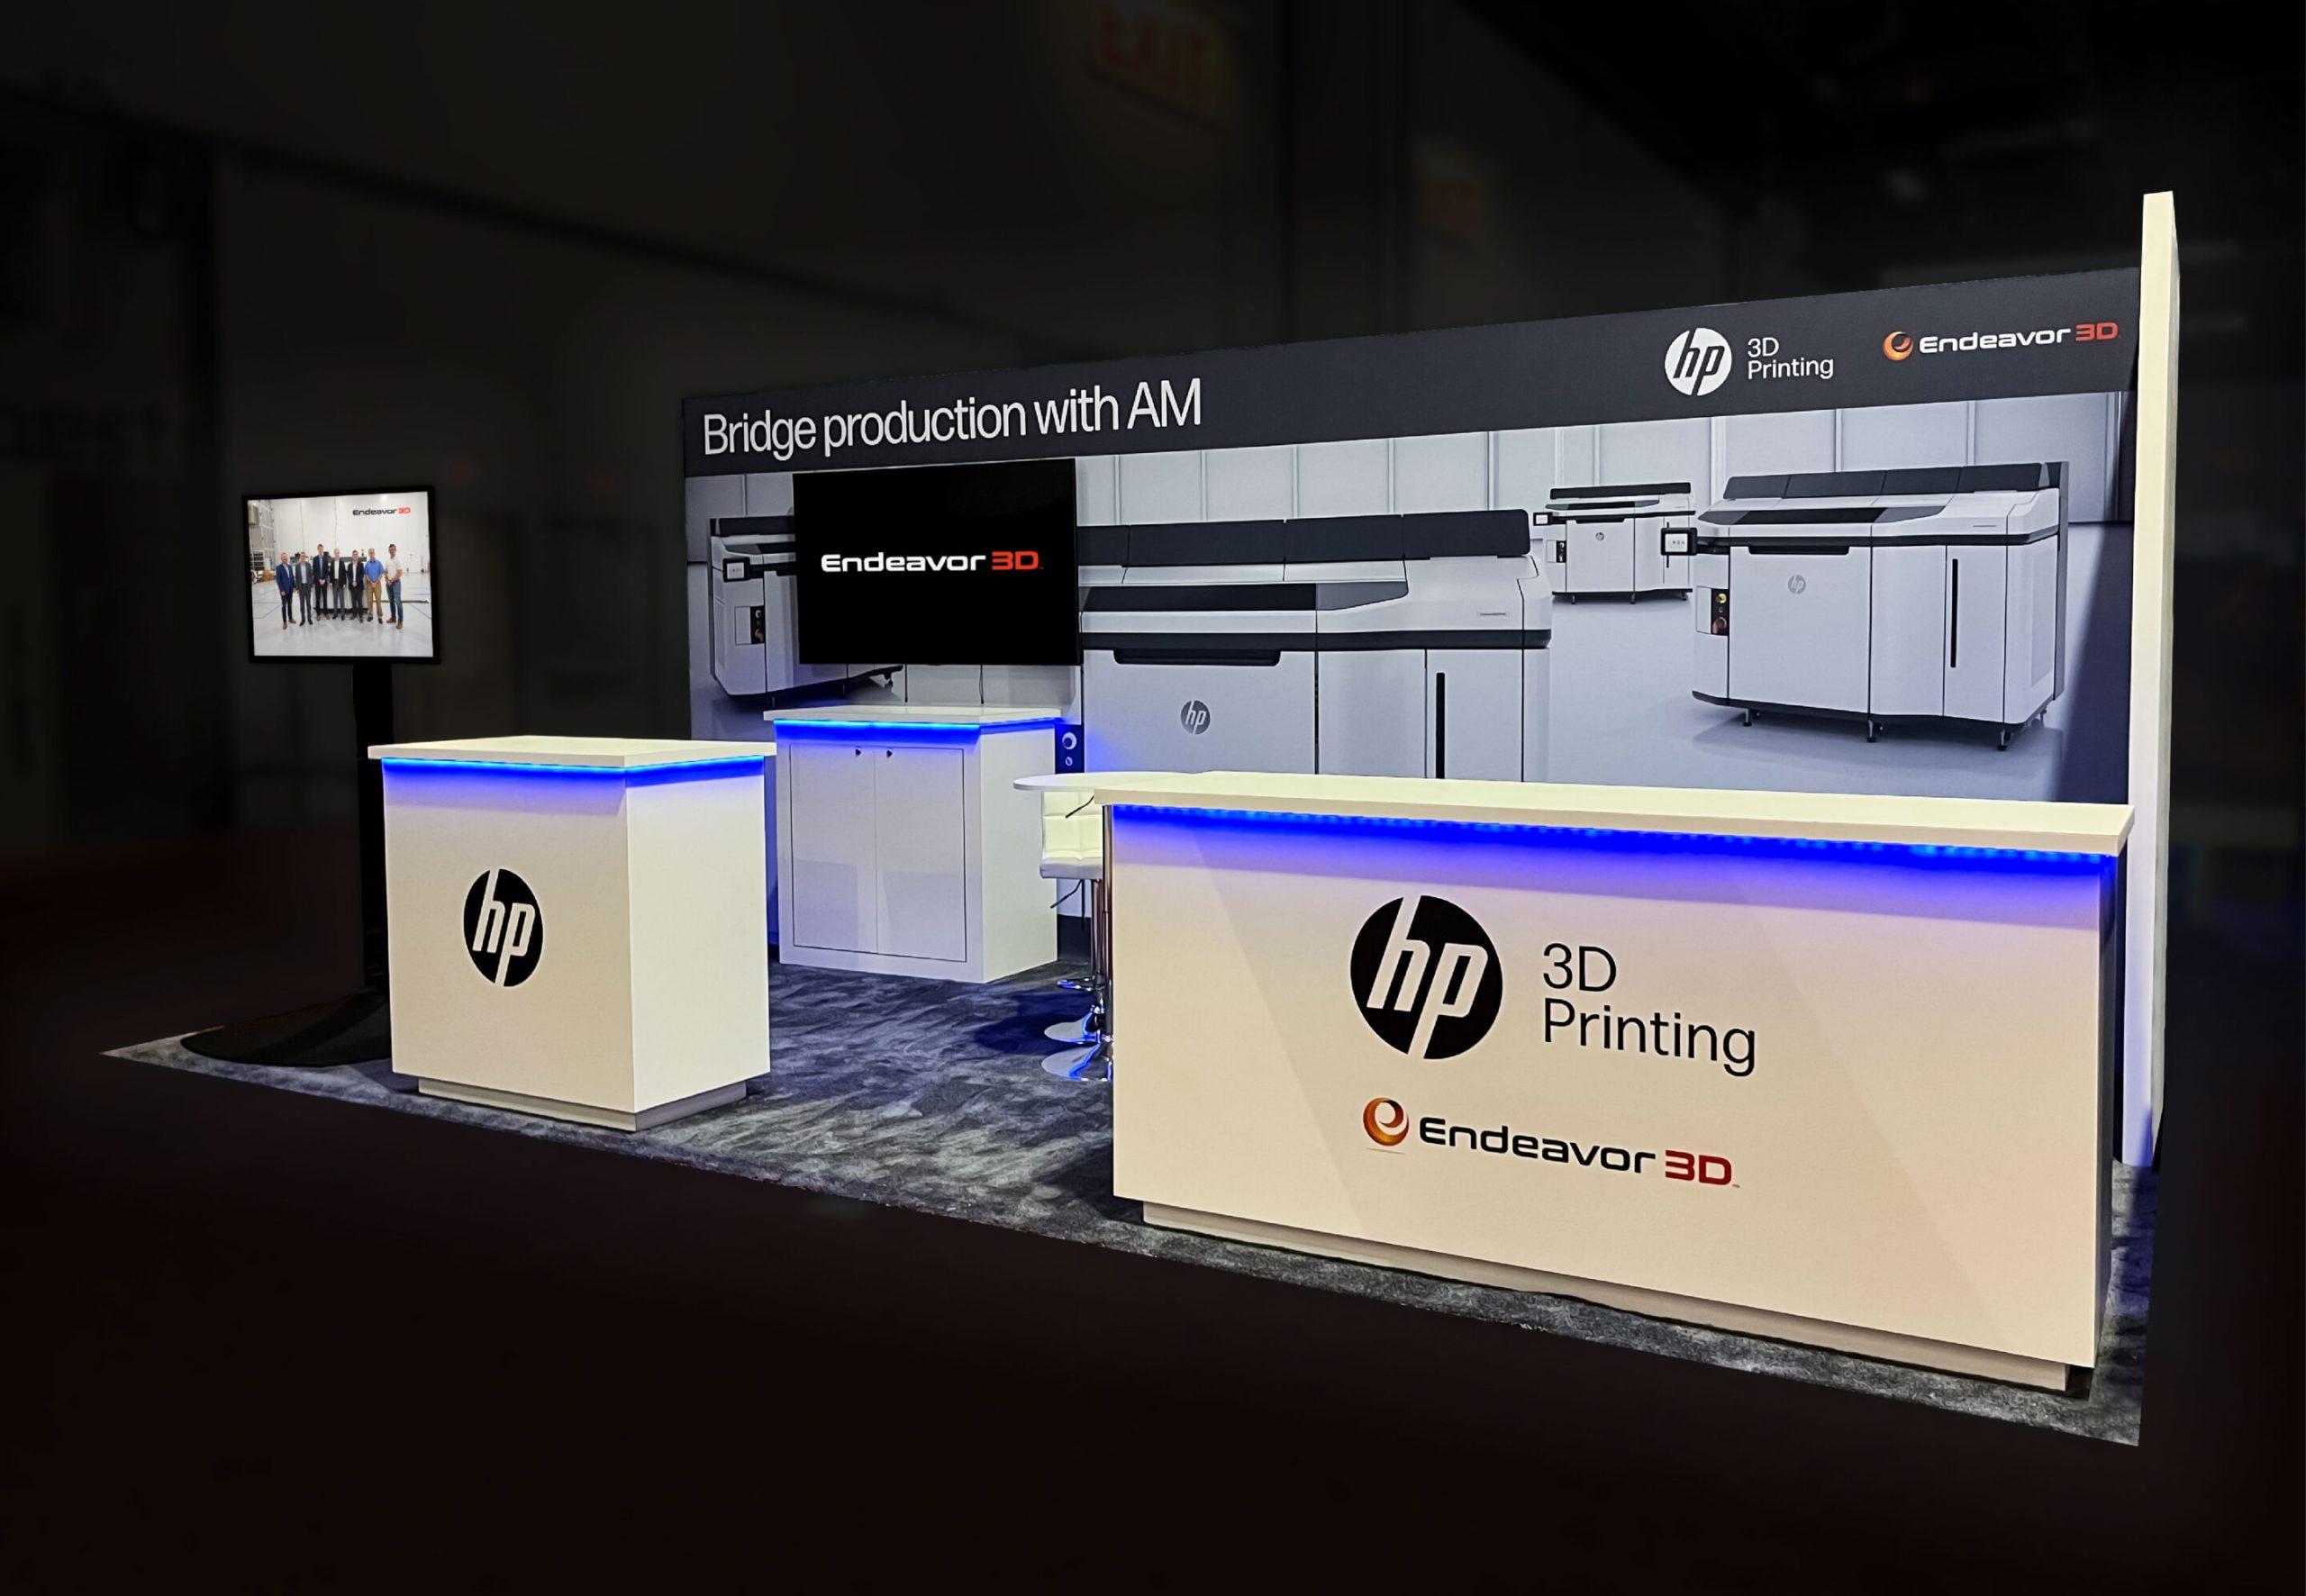
Material choice affects durability, appearance, shipping weight, assembly time, and how many shows the exhibit survives.
| Material | Strengths | Trade-Offs |
|---|---|---|
| Aluminum extrusion | Light, recyclable, reconfigurable, tool-free assembly | Less design flexibility than millwork |
| Wood and MDF | Custom shapes, premium finishes | Heavy, higher drayage, harder to reuse |
| Acrylic | Backlighting, product cases, detail work | Scratches, needs careful crating |
| Tension fabric | Seamless graphics, light, cheap to refresh | Not load-bearing |
| Steel | Hanging structures, double decks | Weight and rigging requirements |
| Laminate | Durable surfaces, wide finish range | Edge detailing adds labor |
Heavy wood frames are fading from the industry. Lightweight reusable systems now dominate because of drayage savings, sustainability requirements, and multi-show economics.
Pro tip: ask a fabricator for the crated weight before approving a design. That single number predicts your freight and drayage cost across every show the booth attends.
CNC, 3D Printing, and Prototyping
Digital fabrication changed what is economically possible in a booth.
CNC Machining
CNC routing cuts panels, curves, and joinery to tolerances that hand work cannot match consistently. It also means the shop drawing and the finished part are the same thing, which reduces fit problems at prebuild.
3D Printing
Shops now print custom parts that would previously have required tooling or a machinist:
- Brackets and mounts sized to a specific monitor or fixture
- Dimensional lettering and logo elements
- Product display cradles shaped to the exact item
- Replacement parts printed on demand rather than reordered
- Custom caps and covers for lighting and signage hardware
SLA printers handle high-detail components where surface finish matters. The practical benefits are speed and cost: a printed bracket arrives in a day rather than a week, and printing parts locally rather than shipping them cuts freight on the component level.
Prototyping
For unusual elements, shops print or mock up a sample first to verify appearance and durability before committing to the full run. It costs a day and prevents discovering at prebuild that a finish looks wrong under booth lighting.
Engineering for Safety and Reuse
The part nobody sees and everybody depends on.
Structural Integrity
Every booth has to stand up to three days of public traffic, repeated assembly, and freight handling. Engineering covers load paths, connection strength, and stability for anything tall or cantilevered.
Venues enforce this. Hanging structures need rigging approval, double decks need engineering stamps, and fire codes govern materials and finishes.
Electrical Safety
Lighting and AV integration has to be code-compliant and safely routed. That means concealed cable paths, correctly rated components, and testing before the exhibit leaves the shop.
Built to Reassemble
A well-fabricated exhibit is engineered for repeated assembly, not for one event. Connection hardware that survives twenty build cycles, panels that key into the same position each time, and a documented assembly order.
That engineering is what makes a custom exhibit a multi-year asset rather than a single-show expense.
Integrating Technology Into the Structure
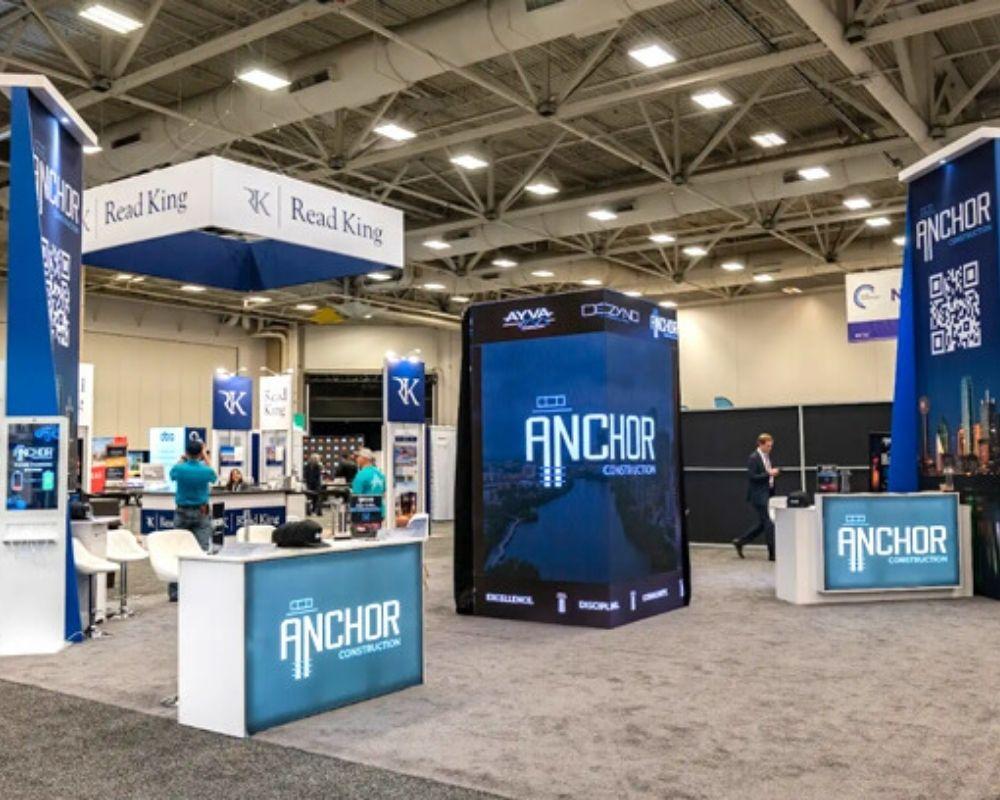
Modern exhibits are as much electrical projects as carpentry projects.
Common integrations:
- Monitor and screen mounts built into walls and counters
- Interactive kiosks and touch interfaces
- LED lighting recessed into structure rather than clipped on
- Backlit panels with even diffusion behind fabric
- Cable management and power distribution
- Audio zones with speakers concealed in structure
The mounting points, cable chases, and power routing all have to exist in the shop drawings. Adding a screen after fabrication means visible brackets and cable, which is exactly the detail that makes a booth look improvised.
For museum and institutional work, integration extends further into climate-controlled display cases, artifact mounts, and durable interactives built to withstand years of heavy public traffic rather than three days.
The Prebuild Nobody Should Skip
The single most valuable hour in the entire process.
What a Test Build Verifies
The complete exhibit is assembled in the shop and inspected against a checklist:
- Structural fit and panel alignment
- Graphic alignment and color consistency
- Doors, counters, and storage access
- AV mounts and monitor positions
- Lighting positions and output
- Product display dimensions
- Hardware and service access
- Component labeling and assembly order
- Packing configuration
Many fabricators photograph or video the prebuild and send it for client approval before crating.
Why It Matters
A fit problem found in the shop costs an afternoon. The same problem found at 7 a.m. on move-in day costs overtime labor, a compromised booth, or both.
Compressing quality control to hit a deadline is the single most common reason exhibits fail on the show floor.
Timeline and What Causes Delays
Custom fabrication runs roughly 10 to 13 weeks from approved design, before you add design time on the front.
| Phase | Duration |
|---|---|
| Engineering and detailing | 2 to 3 weeks |
| Fabrication and assembly | 4 to 6 weeks |
| Graphics and finishing | 1 to 2 weeks |
| Prebuild and QA | 1 week |
| Crating and logistics | 1 week |
The Four Common Delays
- Late design changes. Revisions after engineering drawings are finalized can trigger 30 to 40% rework costs and push the schedule back
- Specialty material lead times. Custom finishes and unusual hardware take longer to source than standard stock
- Late graphic revisions. Color or content changes after printing starts cost days or weeks
- Rushed or skipped prebuild. Saves a week, risks the show
Rush fabrication is possible at added cost. A fabricated rental can also shortcut the timeline when a deadline is genuinely tight, since the structure already exists and only graphics need producing. Our rental exhibits cover that scenario.
In-House Fabrication vs Outsourced
Worth asking before you sign.
| Factor | In-House Shop | Outsourced |
|---|---|---|
| Schedule control | Direct | Depends on a third party |
| Change handling | Faster | Slower, more expensive |
| Quality accountability | One party | Split |
| Prebuild access | Usually available | Often not |
| Cost | Comparable | Sometimes lower, less predictable |
Questions worth asking any fabrication partner:
- Is fabrication handled in-house or subcontracted?
- Do you run a full prebuild, and can we see it?
- What is the crated weight of this design?
- Who engineers the structure for venue compliance?
- How is the exhibit stored and refurbished between shows?
Many full-service companies bundle design, fabrication, project management, freight, installation, dismantle, and storage into one scope, which removes the coordination problem that arises when each stage belongs to a different vendor.
Beyond Trade Shows
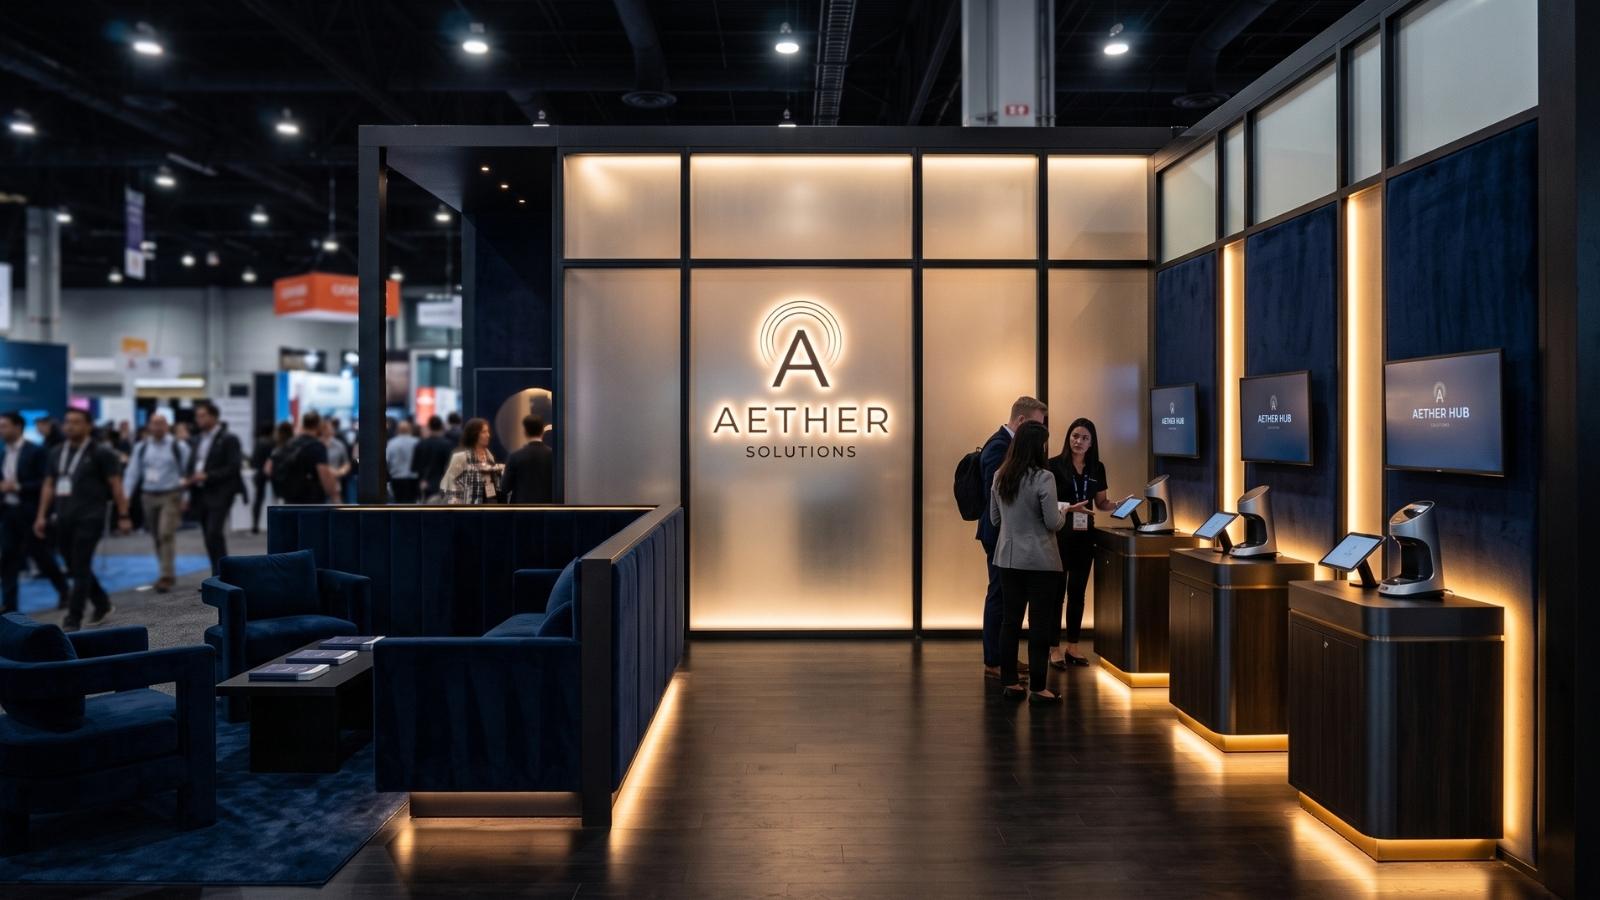
The same skills serve a wider range of work than most people realize.
Exhibit fabricators build museum galleries, visitor centers, brand activations, pop-up retail, corporate interiors, and permanent installations. The diversity of output comes from a common toolkit: CNC machining, millwork, metalwork, finishing, graphics, and AV integration.
Museum work pushes durability hardest. Interactives handled by thousands of visitors a week, display cases that control humidity for fragile artifacts, and mounts engineered to hold specimens safely for years. Trade show work pushes reassembly and freight efficiency instead, since the same structure has to go up and down a dozen times in different cities.
From Drawing to Show Floor With Local Exhibits
Fabrication is the stage where a design either becomes what you imagined or becomes an approximation of it. The difference shows up in seams, finishes, lighting integration, and whether the booth still looks sharp at its fourth show.
If you are evaluating a partner:
- Confirm fabrication happens in-house
- Ask to see prebuild documentation from past projects
- Get the crated weight before approving the design
- Lock the design before engineering starts, since changes after that point are expensive
- Allow 10 to 13 weeks from approved drawings
We handle engineering, fabrication, graphics, prebuild, crating, freight, and final installation under one roof and one project manager. Browse our work to see finished builds, then send us your design or your idea, and we will tell you what it takes to build.
Frequently Asked Questions
What degree do you need to be an exhibit designer?
Most come from industrial design, interior design, architecture, or scenic design programs. Portfolio and 3D software skills matter more than the specific degree.
Can you give me an example of an exhibit?
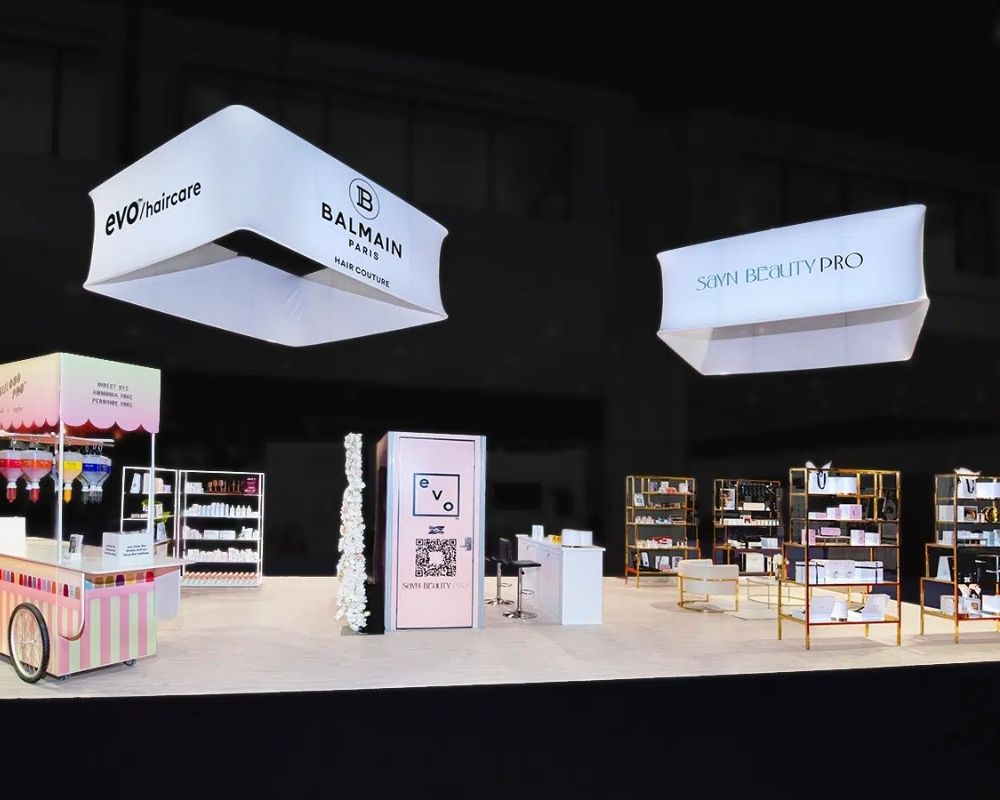
A 20×20 island with a backlit tower, two demo counters, a semi-private meeting area, hidden storage, and a suspended overhead sign.
What is fabrication in design?
Fabrication is the construction phase: turning approved drawings into physical components through cutting, machining, assembly, finishing, and testing before delivery.
Who builds museum exhibits?
Exhibit fabrication companies, often the same shops that build trade show booths, working with museum designers, curators, and AV integrators on durable permanent installations.