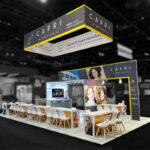
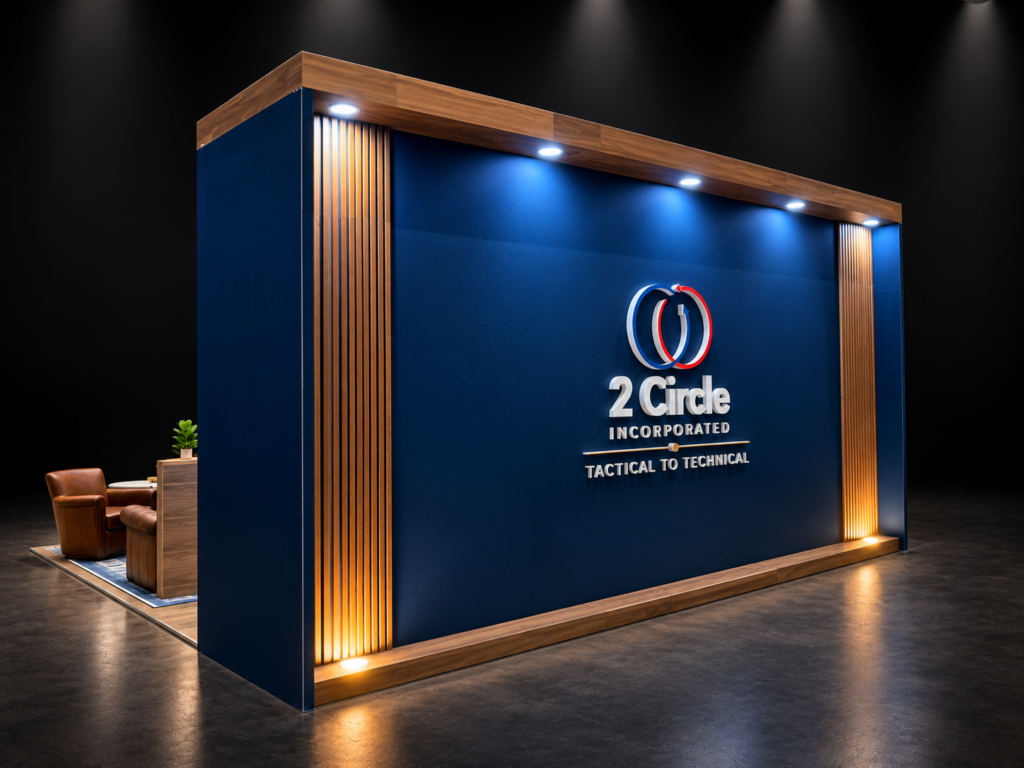
The 10×20 is the most underrated footprint on any trade show floor. Twice the room of a standard inline, a fraction of the cost of an island, and enough width to run two things at once.
It is also the size most often wasted. Plenty of exhibitors take 200 square feet and use it as a wider version of a 10×10: one long graphic wall, one counter, nothing else.
Ideas ahead:
- Layouts that use the extra width properly
- Back wall and backlit display options
- Counters, monitor mounts, and product displays
- Modular kits with tool-free assembly
- Real pricing by tier
We build a lot of these at Local Exhibits, so the notes below reflect what works in an aisle rather than what renders well.
Why 10×20 Is the Sweet Spot
Twenty feet of frontage changes what the space can do.
What You Gain Over a 10×10
| Capability | 10×10 | 10×20 |
|---|---|---|
| Separate zones | No | Yes, two |
| Staff comfortable | 2 to 3 | 3 to 4 |
| Demo plus conversation | Competing | Simultaneous |
| Storage | Cramped | Built in |
| Back wall width | 10 ft | 20 ft |
The larger footprint lets you create separate areas for demos and meetings without the booth feeling crowded, which is exactly what a 10×10 cannot do.
What You Give Up Against an Island
One side open to the aisle instead of four. That single constraint drives every design decision: your back wall carries the entire message, and your entry has to be obvious from one direction only.
Height limits apply too. Most shows cap inline booths at 8 feet in the back half, with a lower restriction near the aisle. Our guide to booth sizes covers the rules by footprint.
Layout Ideas for 200 Square Feet
Use the width. That is the whole strategy.
Four Layouts That Work
- Split zones. Demo station on one half, conversation area on the other. Clean separation, easy for staff to work.
- Open center. Counters pushed to both ends, wide entry through the middle. Best for maximizing foot traffic into the space.
- Product runway. A line of displays down one side, walkway along the other. Suits companies with a product range to browse.
- Corner anchor. Reception counter at one end, everything else open. Works well when your booth sits at the end of a row.
Keep the Entry Clear
Open layouts consistently outperform closed ones. A counter across the front discourages entry, and at 10 feet deep you cannot afford to lose people at the threshold.
Practical rules:
- Leave at least half your frontage completely open
- Push counters to one end or pull them back from the aisle
- Set the demo station deeper so visitors walk in to reach it
- Mark the threshold with flooring or lighting, not furniture
Foot traffic flow is the metric that matters most in this footprint. If people hesitate at the edge, nothing else in the booth gets used.
Back Wall Ideas
Twenty feet of continuous backdrop is your single biggest asset.
Go Continuous
A seamless backdrop looks more professional than three separate panels with visible gaps. Tension fabric on SEG frames gives you an unbroken 20-foot graphic that packs into a case.
Options worth considering:
- Flat continuous wall. Maximum graphic area, simplest to ship
- Curved backwall. Softer, draws the eye inward, adds a premium feel
- Archway. Creates a defined entry and doubles as a header sign
- Partition wall. Splits the booth into two rooms with a doorway
- Double arch. Two entries, works well for high-traffic aisles
- Layered backdrop. Depth through overlapping panels, better storytelling
A visually layered backdrop does more for brand recall than a flat one, because the depth gives the eye somewhere to travel.
Say One Thing
Your value proposition needs to be readable in about three seconds from the aisle. One headline, sized to carry 20 feet, with everything else stepping down in weight.
Keep a cohesive theme across the wall, counters, and any hanging signage. Consistency is what builds recognition when attendees see you again at the next show.
Backlit Displays
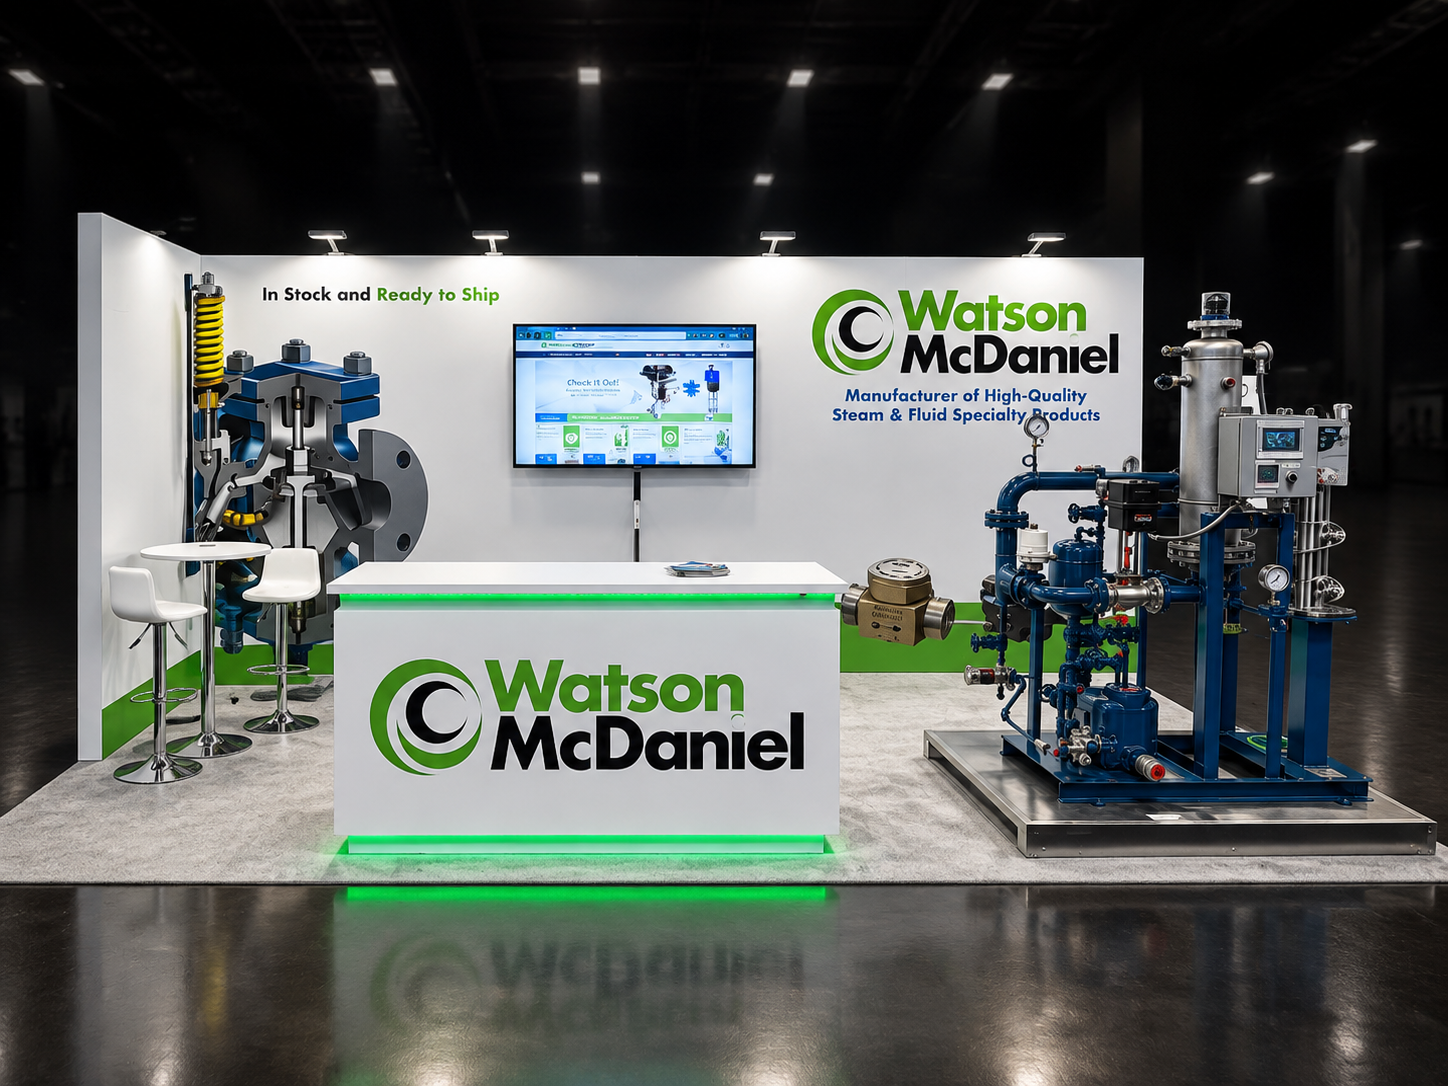
The most effective upgrade available in this footprint.
Why They Work
A backlit panel reads brighter than a printed one from across the hall, and it stays visible in venues with dim or uneven overhead lighting. Convention halls are lit like warehouses, so an illuminated wall stands out against neighbors sitting in flat light.
Backlit displays also raise the perceived production value of the whole booth. The same graphic costs more to light and looks like it cost much more to build.
What They Cost
| Type | Price Range |
|---|---|
| Non-backlit modular 10×20 kits | $2,900 to $3,600 |
| Partial backlit sections | $5,200 to $8,000 |
| Full backlit 10×20 displays | $6,000 to $12,700 |
| Premium modular with backlit mural, storage, shelving | $14,000 to $18,000 |
Backlit costs more than standard printing, and for most exhibitors it is the single best place to put the extra budget. A half-backlit wall with a lit hero section often delivers most of the impact at a fraction of the full-wall price.
Counters, Mounts, and Product Displays
The functional hardware that turns a backdrop into a booth.
What to Include
| Element | Purpose |
|---|---|
| Reception counter | Greeting, lead capture, hidden storage |
| Monitor mounts | Video loops, demos, configurators |
| Product shelves | Browsing and comparison |
| Display pedestals | One hero product at eye level |
| Storage closet | Cases, coats, giveaway stock |
| Literature holders | Collateral without clutter |
Integrated monitor mounts beat freestanding stands every time. A screen built into the wall reads as part of the design; a screen on a pole reads as an afterthought with a visible cable.
Storage Is Not Optional
At 200 square feet, you will accumulate cases, boxes, and bags by hour three of day one. Build a lockable closet into the back wall or use counters with interior shelving.
Pro tip: measure your crates before choosing a counter. The best storage counter is the one your shipping cases actually fit inside.
Modular Systems and Tool-Free Setup
The practical choice for most 10×20 exhibitors.
Three Tiers of Modular
| System | Weight | Setup Time | Best For |
|---|---|---|---|
| Tension fabric pop-up | ~50 lbs | 5 to 10 min | First-time exhibitors, tight budgets |
| Ultralite modular | ~70 lbs | 10 to 20 min | Easy transport, frequent small shows |
| Heavy-duty modular | ~170 lbs | 30 to 40 min | Regular exhibitors wanting a custom look |
Lightweight aluminum frames with interlocking panels assemble without tools, which saves labor cost at smaller shows where a full install crew is hard to justify. Lighter kits also ship in wheeled cases rather than crates, cutting drayage significantly.
Reconfigure for Other Shows
Most modular 10×20 systems break down into a 10×10 for smaller events. That single feature usually justifies the higher price over a fixed pop-up, since it covers two footprints on one purchase.
Mix and match components as your program grows: add counters, shelves, media mounts, or a backlit section without replacing the frame. Our modular exhibits are built around that flexibility.
Lighting and Overhead Signage
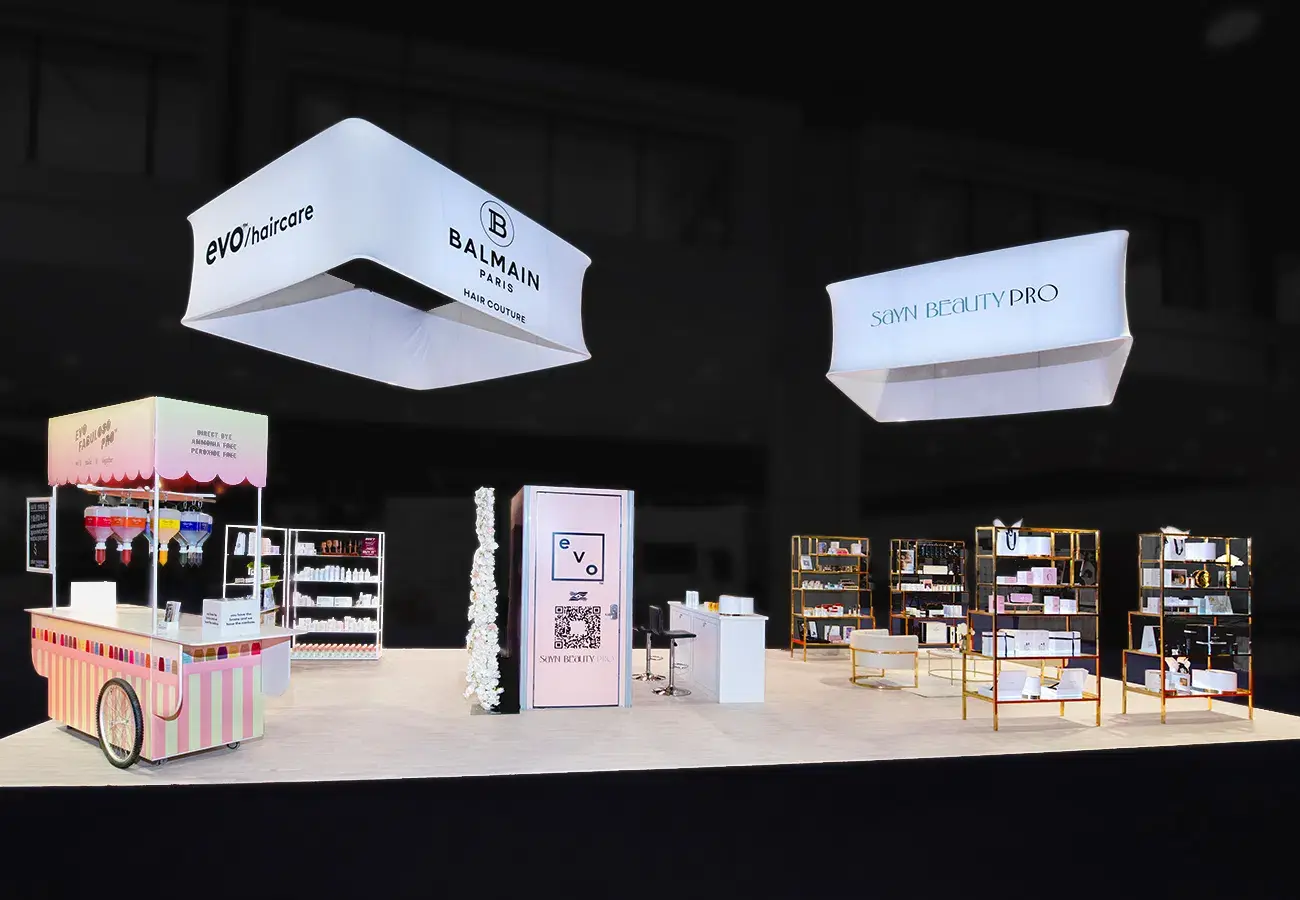
Two easy wins people skip.
Light It Properly
Layer three types: ambient fill, task lighting on counters and demo areas, and accent spots on your hero product or headline. LED fixtures run $80 to $110 each, and a complete package for this footprint sits around $1,000 to $2,500.
Dim booths read as closed. Lit ones read as open for business, from 50 feet away.
Check Hanging Sign Eligibility
Most shows permit hanging signs only for island and peninsula booths, so a standard 10×20 inline usually cannot have one. Where a show does allow overhead signage for inline spaces, take it: nothing else buys visibility in a crowded convention hall so cheaply.
Where it is not allowed, compete on height within the 8-foot limit using vertical typography, backlighting, and a tall product display.
Demo and Engagement Ideas
Twenty feet gives you room for something to happen.
- Micro-demos under two minutes run on a posted schedule
- A touchscreen configurator mounted into the wall
- Hands-on product station with a dedicated staffer
- A quiz or leaderboard that captures leads as people play
- Photo backdrop on one side panel for social sharing
Integrating interactive experiences within the booth reliably lifts engagement, and at this footprint one well-executed element beats three competing for the same 200 square feet.
What a 10×20 Costs
By route, with everything included where noted.
| Option | Price |
|---|---|
| Entry pop-up backwall | $1,700 to $3,500 |
| Modular kit with counters and mounts | $2,900 to $6,300 |
| Backlit modular display | $5,200 to $12,700 |
| Premium modular with crate | $14,000 to $18,000 |
| Custom fabricated 10×20 | $15,000 to $40,000 |
| All-in turnkey rental | $7,500 to $14,000 |
Add floor space, freight, drayage, electrical, and labor on top of any purchase figure. Total show cost typically runs about three times your floor space fee.
Rent or Buy
Renting suits one or two shows a year and removes storage entirely. Rental packages for this footprint generally include graphics, install, dismantle, and freight.
Buying pays off from three or four shows a year, especially with a modular system that also serves your 10×10 events. For the smallest shows on your calendar, portable displays cover the gap without a crate.
Modern Design Directions for a 10×20
Booth aesthetics move faster than most exhibitors refresh their graphics. A few directions that look current rather than dated.
Sleek and Minimal
The strongest 10×20 booths right now do less, not more. One bold color, one message, generous negative space, and a single lit focal point.
What that looks like in practice:
- A monochrome back wall with one saturated accent
- Thin-profile aluminum framing instead of chunky structure
- Flush-mounted monitors with no visible hardware
- Concealed cable routing and hidden power
- Counters with clean edges and no applied trim
Clutter reads as uncertainty. A booth that says one thing clearly signals a company that knows what it sells.
Warmth and Texture
The opposite direction works too, and it stands out even more in a hall of white and grey.
Wood slats, felt panels, plants, soft lighting at 2700K, and lounge seating create a space people want to stand in. For service businesses and anyone selling a long-cycle relationship, that matters more than a tech-forward look.
Layered Depth
Flat walls photograph poorly and read flat in person. Overlapping panels at different depths, a recessed lightbox, or a forward-projecting header create shadow lines that make 200 square feet feel more substantial.
Pro tip: the cheapest way to add depth is to pull one panel forward six inches and light it separately. No extra structure, noticeably more presence.
Booth Rentals for the 10×20 Footprint
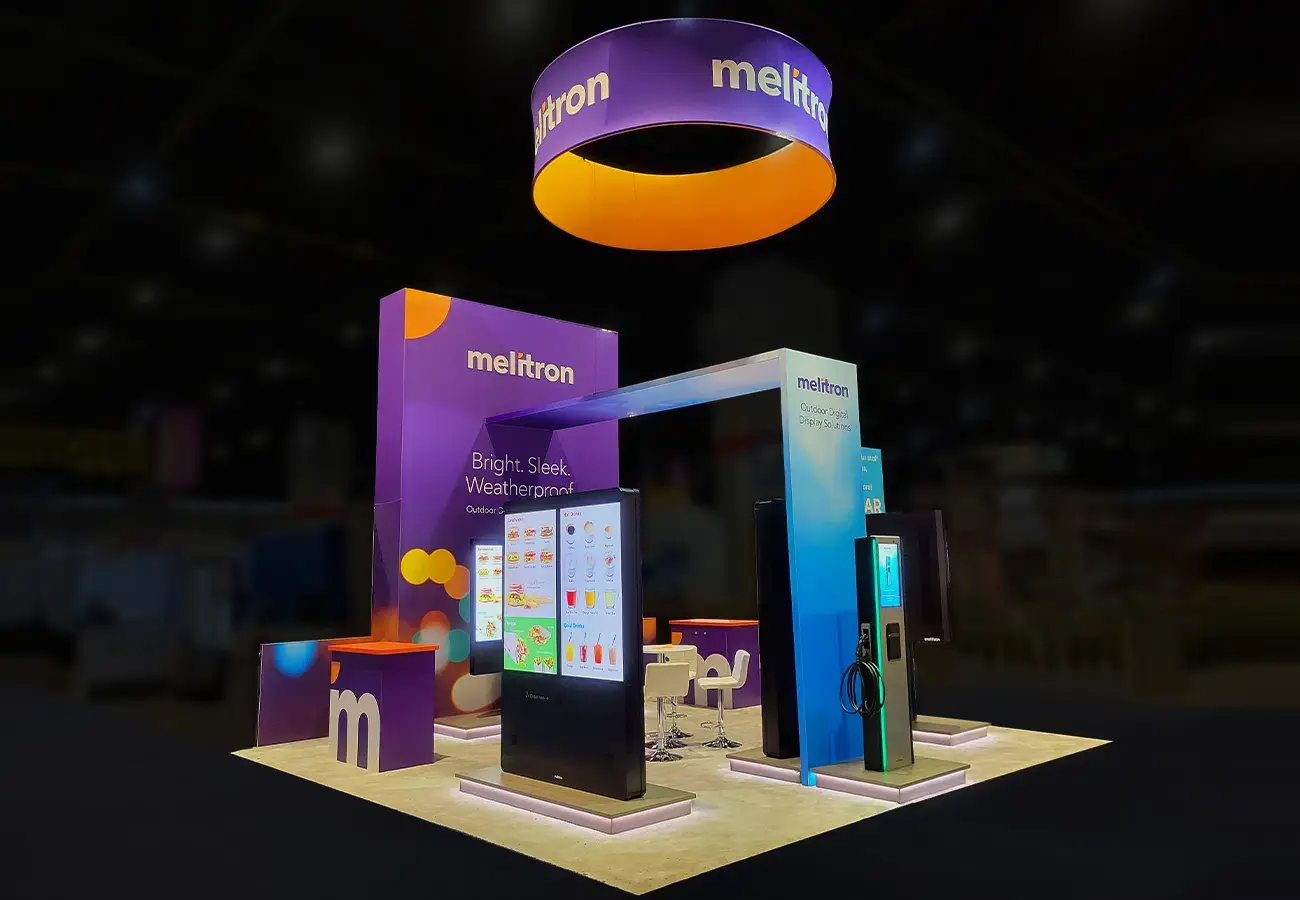
Renting is not the budget option at this size. It is often the smart one.
What a Rental Gets You
| Included in Most Packages | Usually Extra |
|---|---|
| Structure and back wall | Electrical |
| Custom printed graphics | Internet |
| Counters and furniture | AV hardware |
| Basic lighting | Drayage fee |
| Flooring | Rigging |
| Install and dismantle | Floor space |
A rental gives you a different configuration at each show without owning three systems. Attend a 10×20 in March and a 10×10 in June, and the rental adapts while an owned kit sits in storage half the year.
When Renting Beats Buying
- Under three shows a year. Ownership never amortizes
- Testing a larger footprint before committing to it
- Distant shows where shipping your own booth costs more than renting locally
- Rebrand pending, so you do not want to print graphics onto a structure you own
- No storage solution and no interest in paying for one
Graphics still get printed fresh for your brand, so a rental does not look rented. The structure is shared inventory; the presence is yours.
Our 10×20 rental options include design, graphics, install, and dismantle as one number.
Custom Booths for Clients Who Need More
Sometimes the modular catalog genuinely cannot do what the brief requires.
When Custom Is the Right Call
- Your product has an unusual shape, weight, or power requirement
- You need an enclosed or semi-private meeting area inside 200 square feet
- Brand identity depends on a material or form no kit offers
- You exhibit at five or more shows a year in this footprint
- The booth doubles as a showroom or corporate interior between events
A custom 10×20 runs $15,000 to $40,000 and takes 10 to 13 weeks from approved drawings. In exchange, you get a structure engineered around your product rather than around a frame system.
The Hybrid Most Clients Land On
Modular backbone, custom highlights. The walls, frames, and counters run on reconfigurable hardware; one or two elements get fabricated specifically for you.
Good candidates for the custom portion:
- A branded reception desk with a distinctive form
- A product fixture shaped to hold your actual item
- A feature wall with dimensional lettering
- A demo station built around the equipment it holds
That approach delivers a one-of-a-kind look while keeping most of the system reusable, and it is how most of our custom exhibit clients in this footprint end up building.
Getting More From the Same Booth Space
Ideas for squeezing additional value out of 200 square feet without buying more of it.
Build Vertically Within the Limits
Inline height caps usually stop you at 8 feet, but few exhibitors use all of it. Floor-to-ceiling graphics, tall product towers, and stacked shelving all add visual weight without adding footprint.
Use the Side Rails
Most 10x20s have low side rails that sit unused. A side-facing graphic panel catches people approaching down the aisle, before they reach your frontage.
Make the Counter Work Twice
A reception counter should hold storage, mount a tablet for lead capture, and carry brand graphics on the aisle-facing side. Three jobs, no extra floor space.
Plan for Reconfiguration
Ask any partner one question before you buy: what does this become at the next footprint? A system that converts to a 10×10 or expands toward a 20×20 covers your calendar as it changes.
Greater flexibility is what separates a booth that lasts four years from one that gets replaced after two.
Ship Light
Freight and drayage scale with weight, and they bill on every show. A 70-pound modular kit and a 400-pound custom build cost very different amounts to move, repeatedly. Our drayage guide explains how the calculation works and where the minimums bite.
Engage Visitors in a 10×20
A smaller footprint changes how staff work the space.
Position People, Not Furniture
Three staffers in 200 square feet is the right number. Four starts to feel crowded, and two means someone waits when the booth gets busy.
Where they stand matters:
- One at the aisle edge, greeting and pulling people in
- One at the demo or product station, mid-booth
- One at the counter, handling lead capture and overflow
Nobody behind the back wall. Nobody clustered together.
Give Them a Reason to Step In
The extra ten feet of depth means visitors have to commit to entering. Remove the friction:
- A clear, obvious opening with nothing in it
- Something visibly happening inside, not just displays
- A greeting inside five seconds
- An easy first question that is not a sales pitch
A well-designed 10×20 naturally routes people from the aisle to the demo to the counter. That path should exist in the floor plan before the graphics get designed, because no amount of good artwork fixes a layout that dead-ends.
Local Exhibits Builds 10x20s That Punch Above the Footprint
Two hundred square feet is enough to do two things well and nothing more. Pick the two, design around them, and the booth will outperform neighbors who spent more and planned less.
Worth carrying into your brief:
- Use the width for two zones, not one wide wall
- Leave at least half the frontage open
- Put the budget into backlighting before structure
- Build storage in from the start
- Choose a system that reconfigures to a 10×10
- Check hanging sign eligibility before designing for it
We design, fabricate, print, ship, install, and dismantle inline exhibits at every major venue in the country. See our work, then tell us your show and your goals for a layout and a real number.
Frequently Asked Questions
What are some creative ideas for vendor booths?
Backlit back walls, archway entries, touchscreen configurators, hands-on product stations, photo backdrops, and micro-demos running on a posted schedule.
What are some creative ideas for a 20×20 trade show booth?
Backlit towers, a hanging sign, isolated demo pods, a semi-private meeting nook, and open corners so visitors enter from all four aisles.
How much does a 20×20 trade show booth cost?
All-in, $25,000 to $53,000 typically. The structure alone runs $30,000 to $80,000 custom, or $16,000 to $40,000 as a rental package.
What does a 10×20 booth look like?
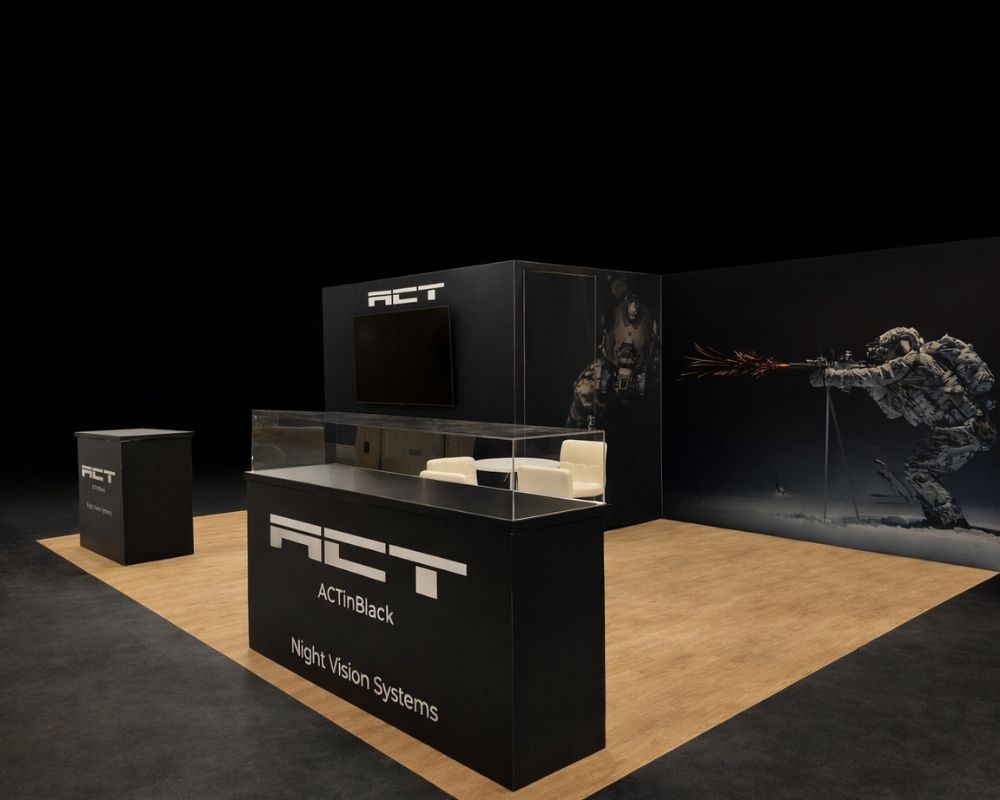
A 20-foot back wall with one side open to the aisle, 200 square feet deep by 10 feet, usually holding a counter, demo area, product displays, and storage.